MySQL Installation Step by Step Guide
MySQL Installation Step by Step Guide
Published
MySQL Installation Step by Step Guide
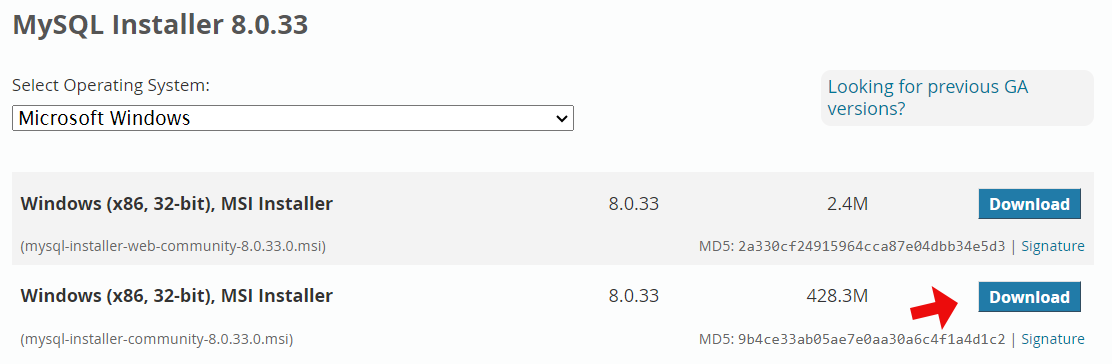
- Visit mysql.com to download mysql installer
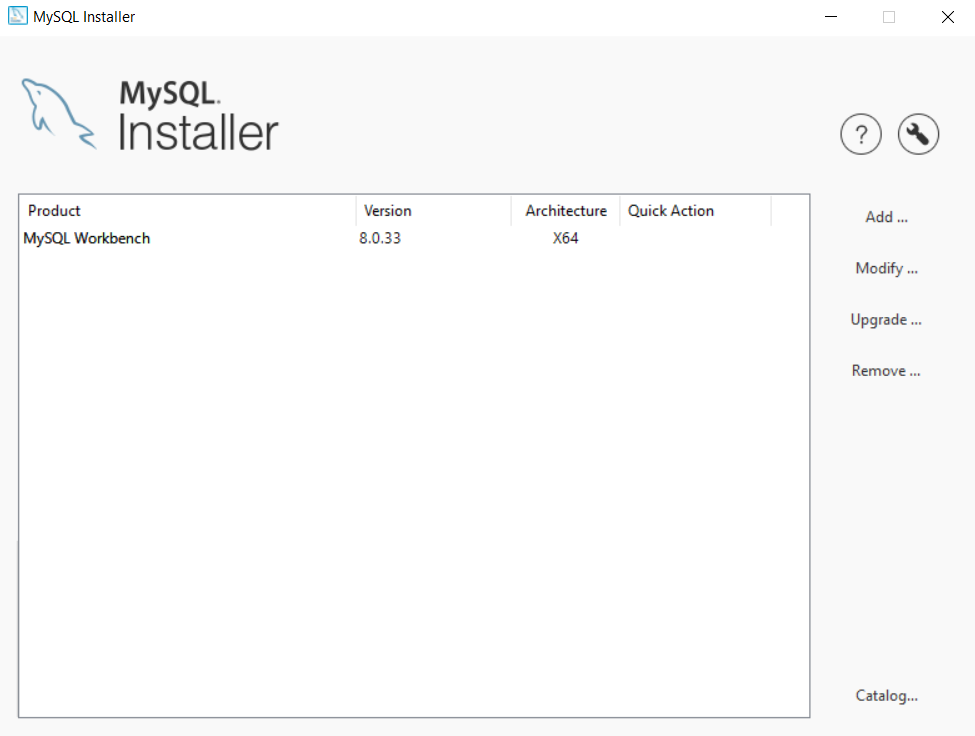
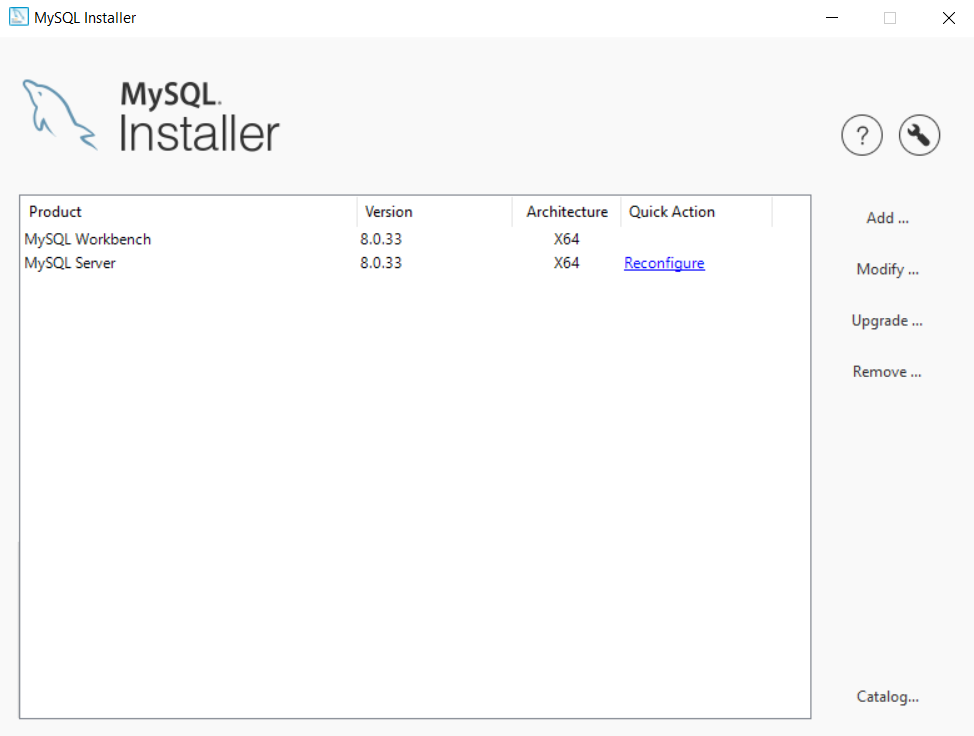
- Once downloaded, double click on installer file to run the mysql installer. I have already installed MySQL Workbench so it’s showing there.

- Click Add.. to add MySQL.
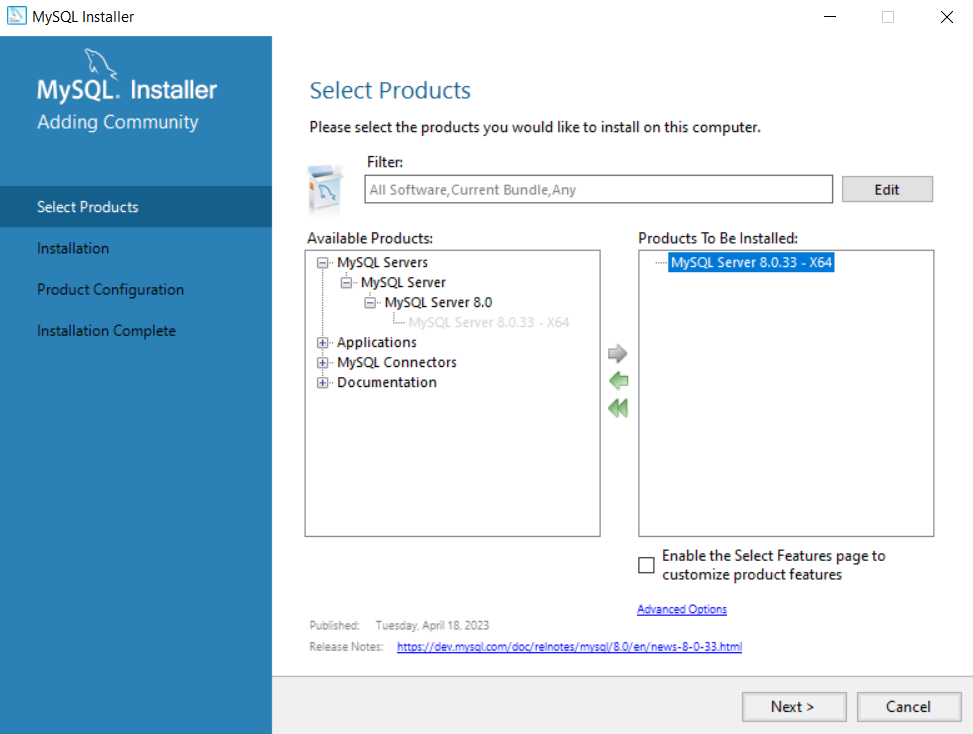
- In Available Products Select MySQL Server 8.0.33 - X64 or the version you have downloaded and click right arrow to move it to Products to be installed list then click Next >
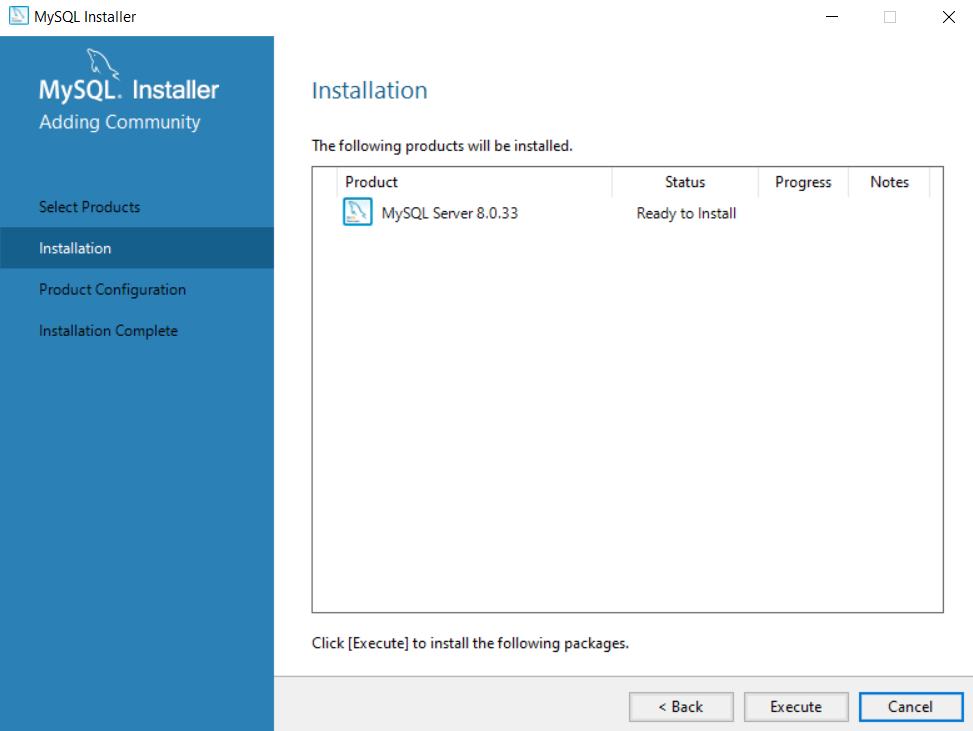
- Click Execute on installation screen.
- Once installation done a green check mark will arrow beside MySQL Server 8.0.33 and status will show complete. Click Next >
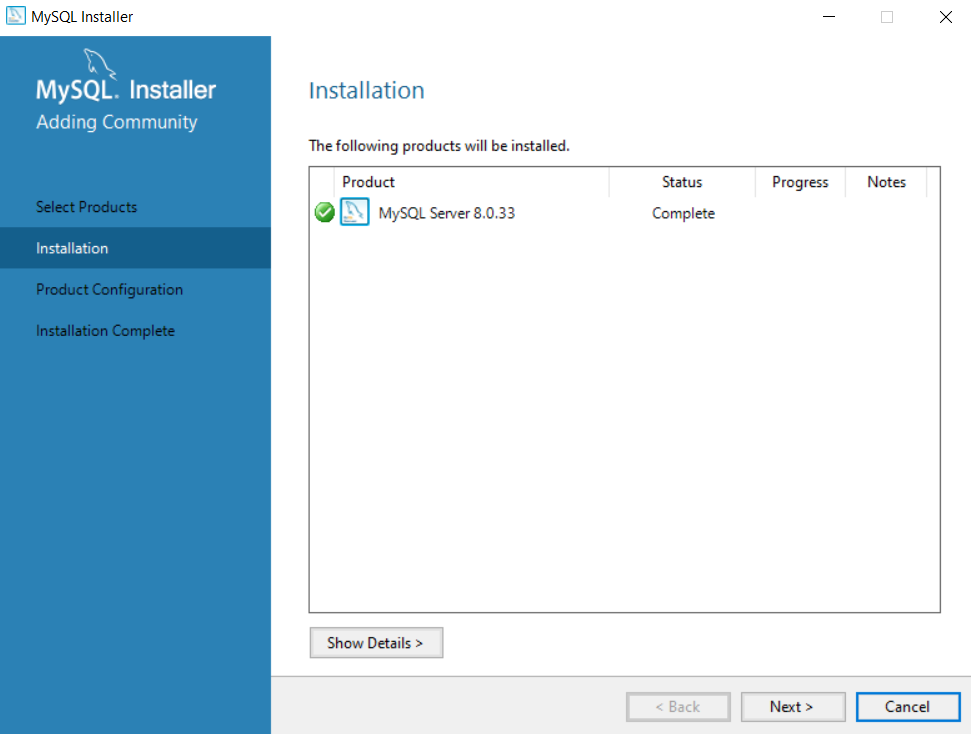
- Now Product Configuration Wizard screen will appear. Click Next >

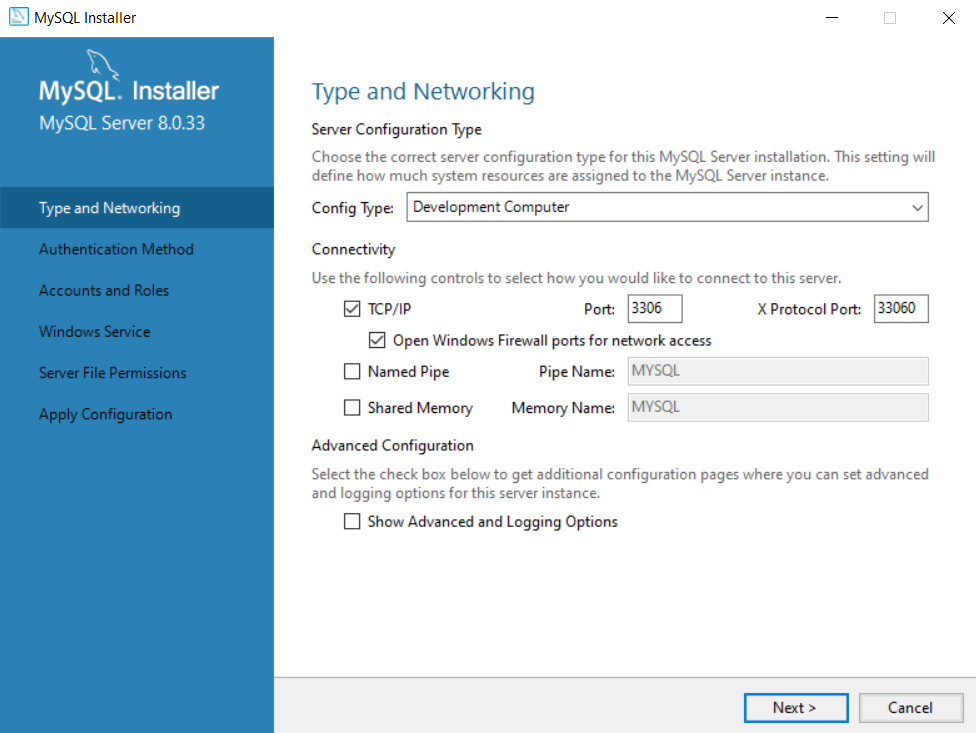
- On Type and Networking Screen we will with default options. Default port is 3306.
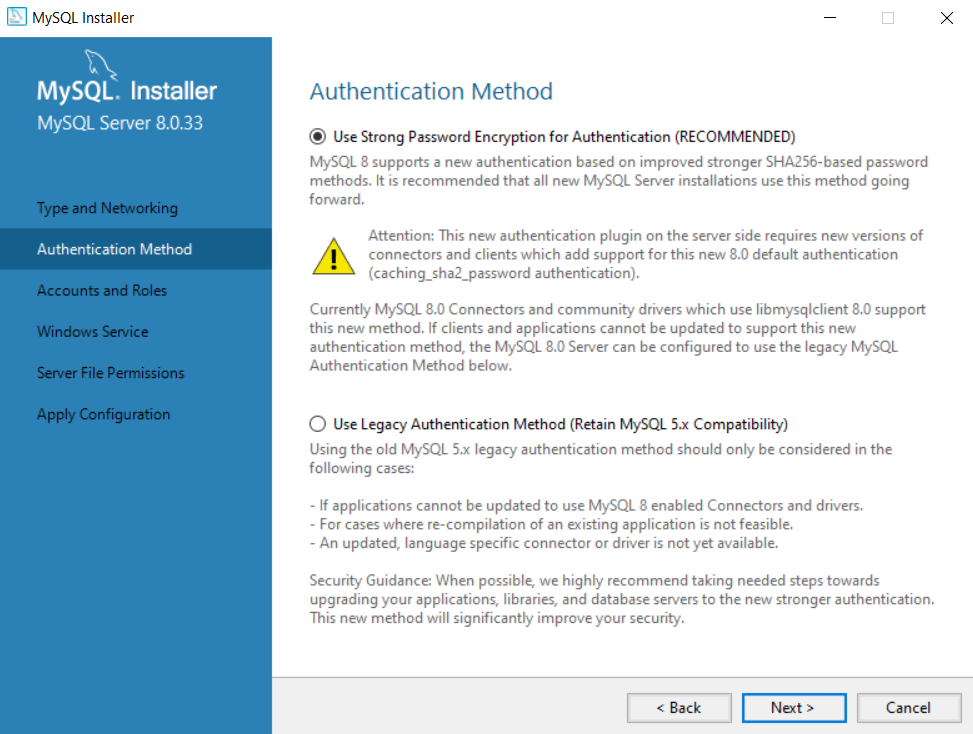
- On Authentication Method use default option Use Strong Password Encryption for Authentication (RECOMMENDED). Click Next >
-
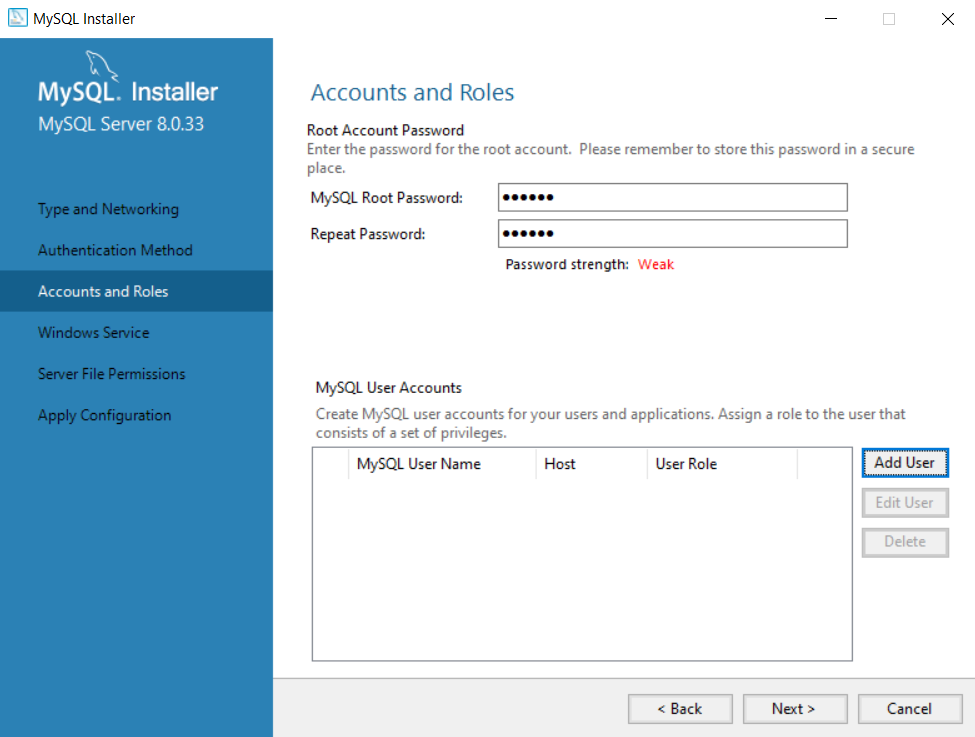
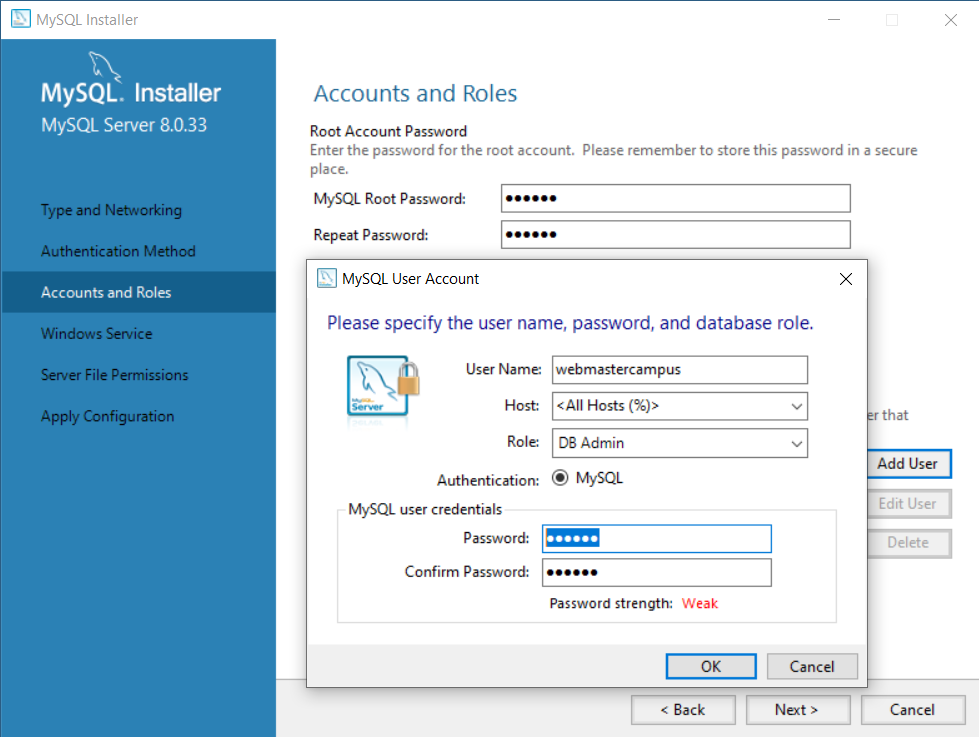
On Accounts and Roles enter root password. Enter the same password.
- MySQL Root Password: 123456
- Repear Password: 123456
Using the strong password is recommended but as I am on my development machine I am using simple password which is easy to remember.
-
Now click Add User to add one more user (it’s optional).
-
MySQL User Account
- User Name: webmastercampus
- Host: <All Host (%)>
- Role: DB Admin
- Password: 123456
- Confirm Password: 123456
Click Ok
-
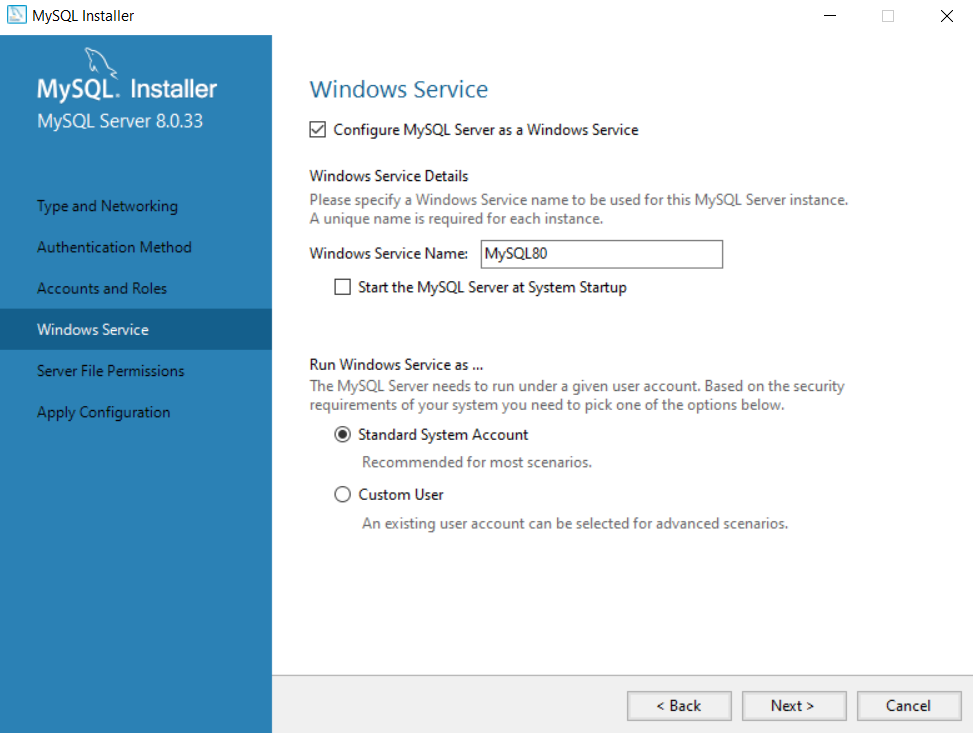
On Windows Service screen we will go with default options.
- Windows Service Name: MySQL80
Click Next
-
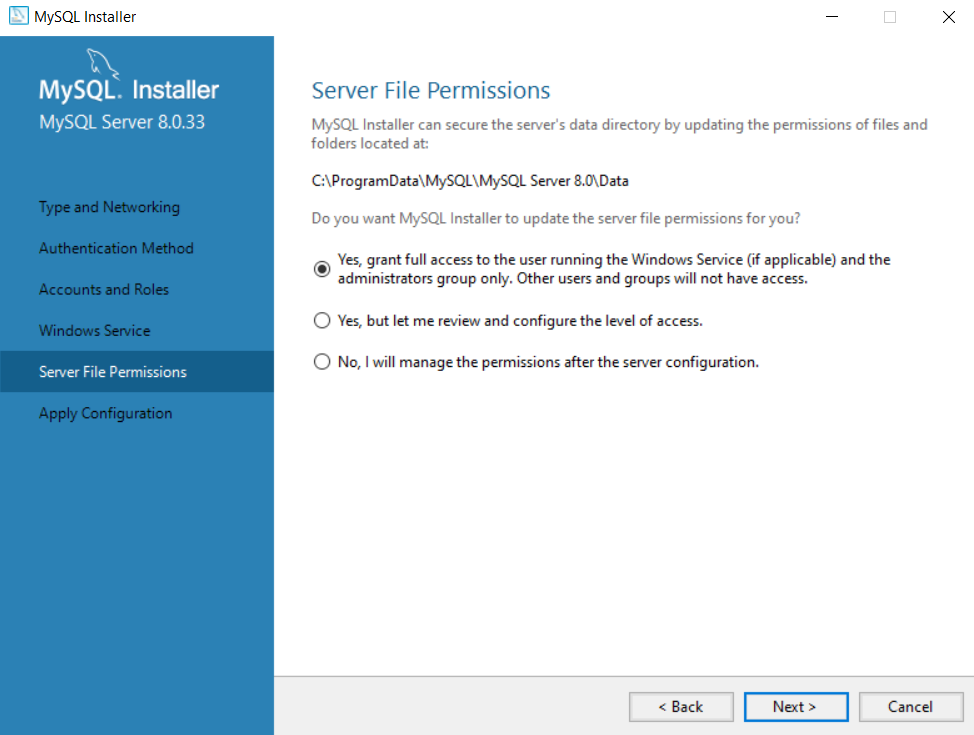
On Server File Permissions Use default option
- Yes, grant full access to the user running the Windows Service (if applicable) and the administratora group only. Other users and groups will not have access.
Click Next
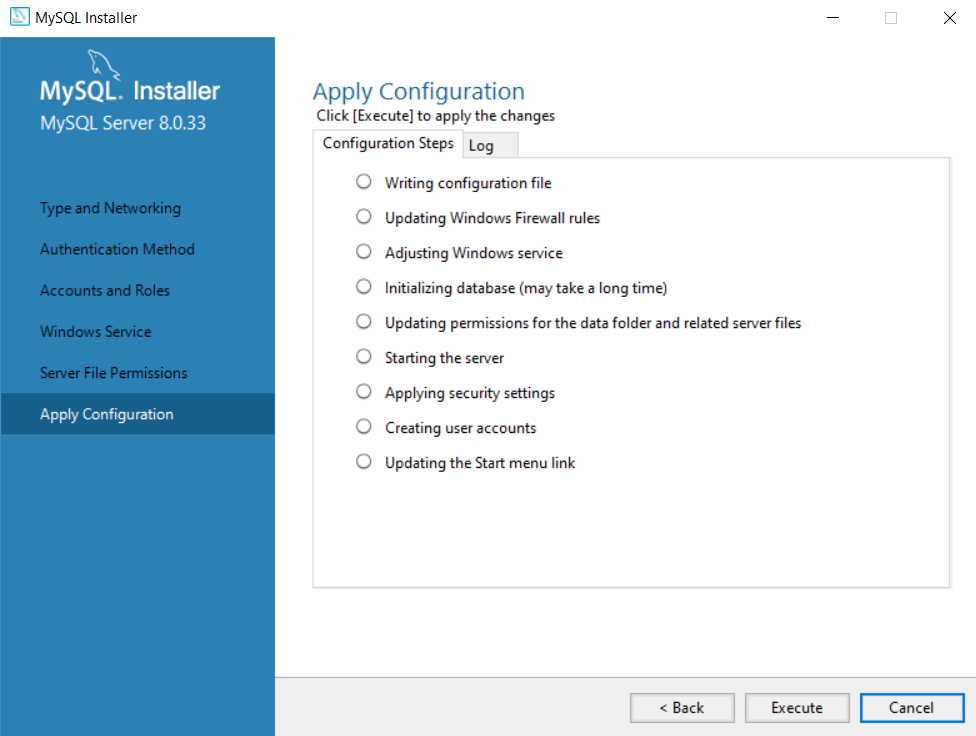
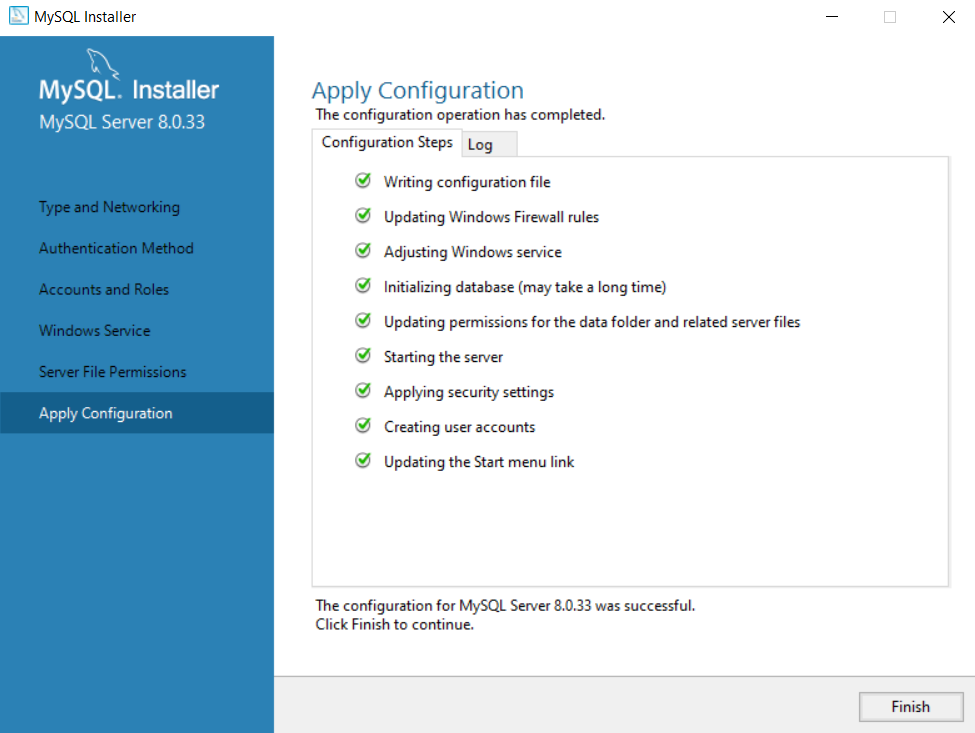
- On Apply Configuration Click Exectute to setup all selected configuration so far we have done.
-
Once configuration done it will show green check mark on all configuration steps.
Click Finish
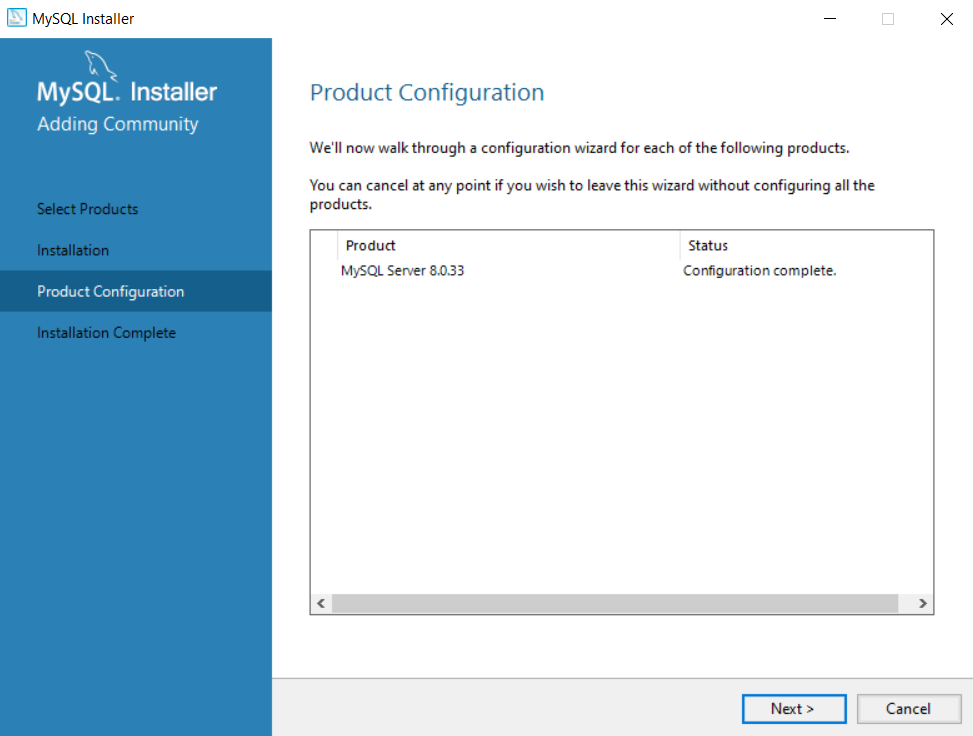
- On Product Configuration screen click Next.
- On Installation Complete Screen Click Finish.
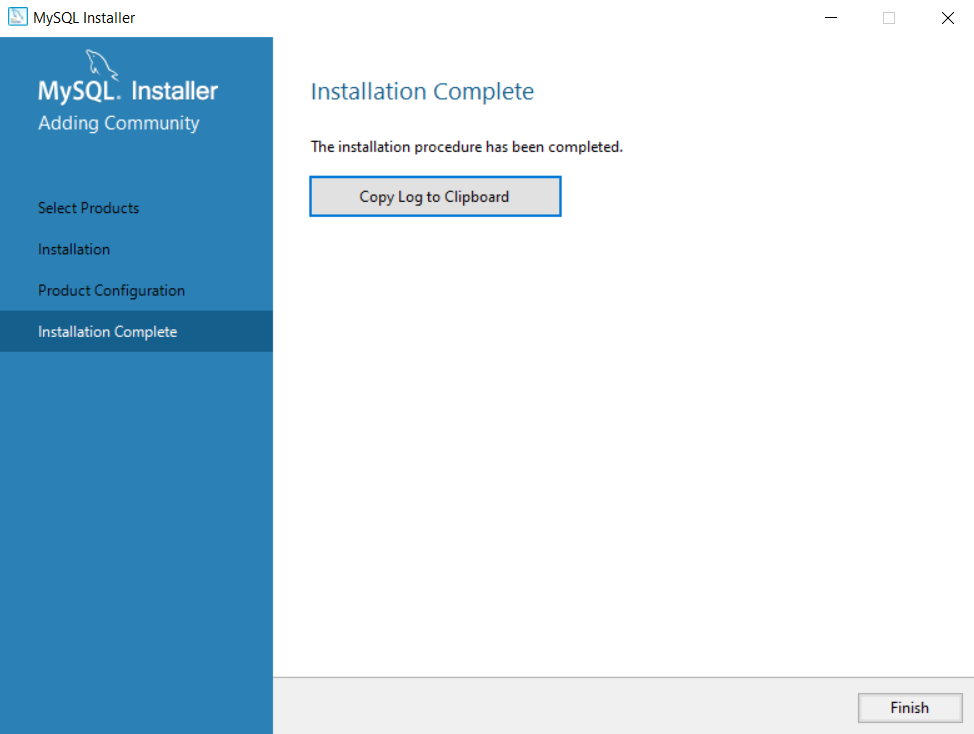
- Now you can close the MySQL installer screen.
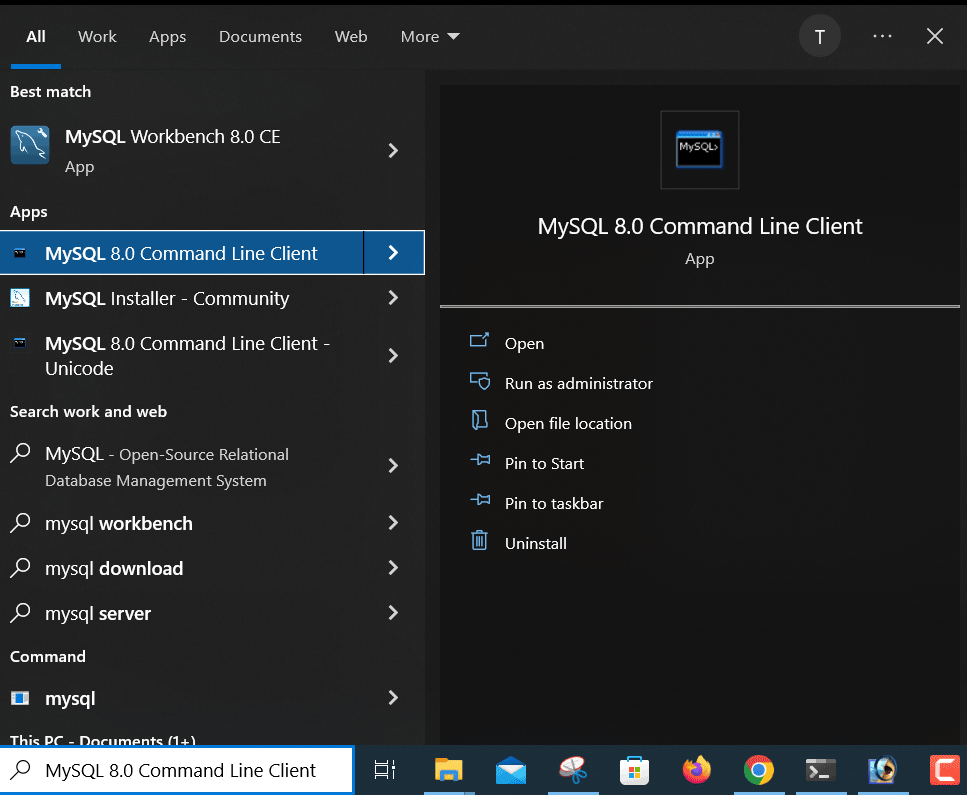
- Now on windows click on Cortana Search and type Mysql.
- It will show you MySQL 8.0 Command Line Client option.
- Click on Run or Run as Administrator if you have rights.
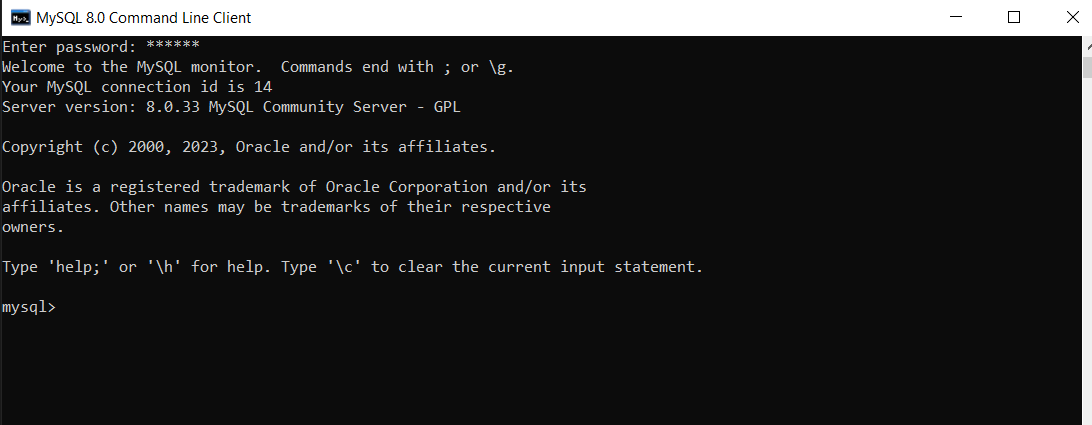
- A Command Prompt will appear.
- Enter the password 123456

- MySQL is ready to run with root level access.
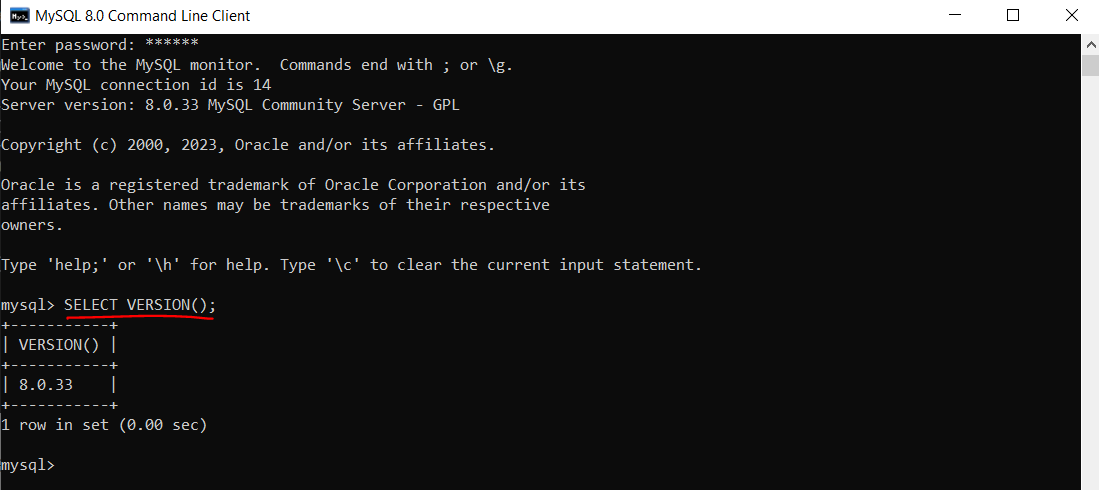
- Type SELECT VERSION();. It will display the MySQL Version.
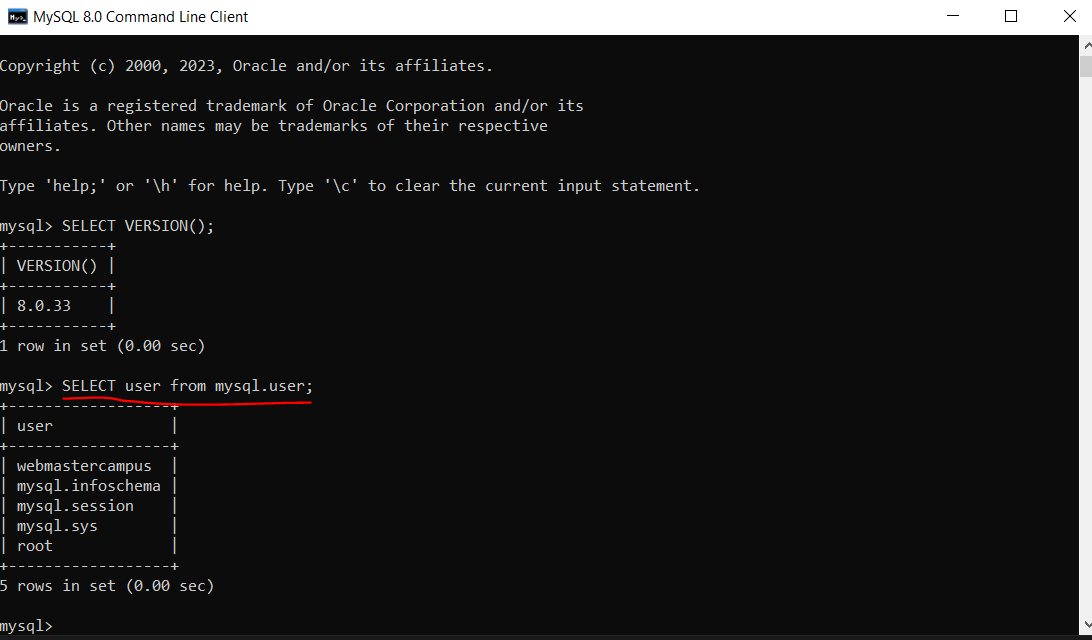
- Type SELECT user from mysql.user;. It will display all user in MySQL database because you are login with root user which have DB Admin role.
- Type SHOW databases;. It will display all available databases.
